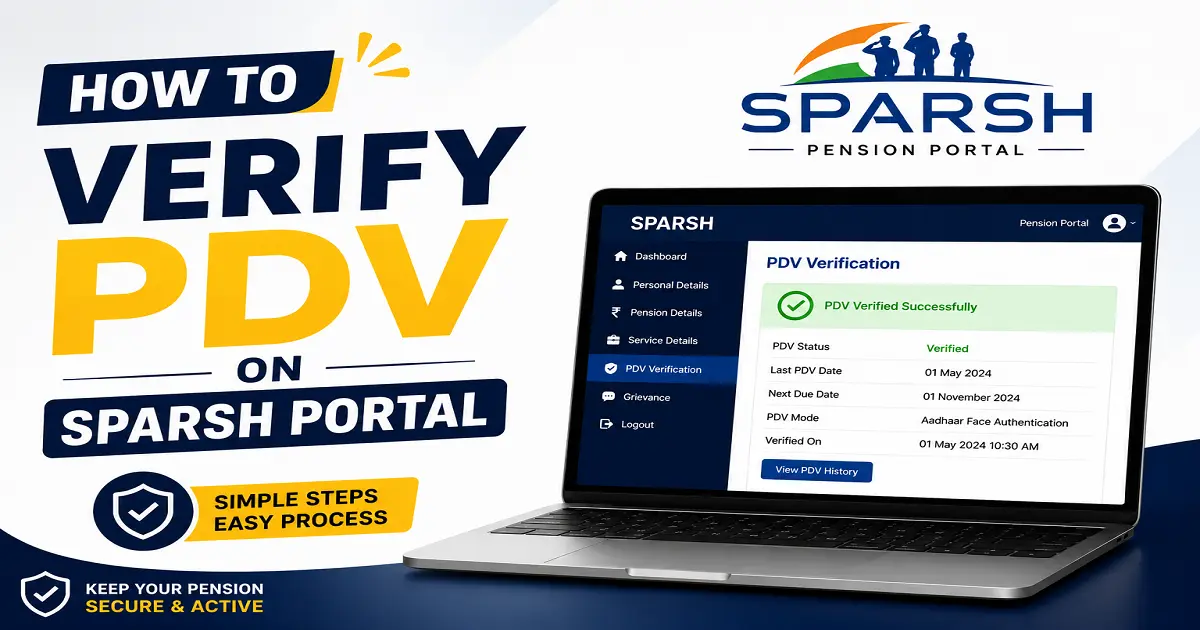
PDV — Pensioner Data Verification — is the step on the SPARSH portal where a defence pensioner personally confirms that every detail behind their pension is correct before it’s sanctioned or before disbursement continues. Skip it or rush through it, and you risk a pension built on a wrong rank, a wrong bank account, or a wrong dependent record.
This guide walks through what PDV actually checks, exactly how to complete it on the SPARSH portal, and what happens if you spot an error mid-process.
What Is PDV and Why Does It Exist
SPARSH (System for Pension Administration — Raksha) is the Ministry of Defence’s centralised platform handling pension sanction, disbursement, revision, and grievance redressal for Army, Navy, Air Force, and Defence Civilian pensioners. Before SPARSH generates your Pension Payment Order (PPO), it needs you to confirm that the data pulled from your service record is actually accurate — that’s PDV.
PDV covers three broad categories of data:
- Personal details — Name, mobile number, address, Aadhaar number, PAN
- Service details — Rank, regimental number, non-qualifying service, net qualifying service, Shape-1 details, and similar service-specific fields
- Dependent details — Name, relationship, Aadhaar, and PAN for dependents such as son, daughter, father, mother, and brother, wherever applicable
On the basis of what you verify here, SPARSH generates your PPO and finalises your pensionary entitlements — so an error you wave through at this stage can follow you into every future pension slip.
Who Needs to Do PDV and When
PDV applies to service pensioners at the point their pension claim reaches SPARSH after retirement, and again if your data is flagged for re-verification later. You’ll be notified through SMS or your registered email once PDV is due, and the activity is meant to be completed within 15 days of that notification.
If you’ve been migrated to SPARSH from an older pension system, checking your migration status first is worth doing before you go looking for PDV — if migration hasn’t happened yet, PDV won’t be available to you.
To check your migration status:
- Visit the SPARSH portal
- Go to Services → Track → Know Your SPARSH PPO Status
- Search using any one of: bank account number, personal number, SPARSH number, or e-PPO number
If your SPARSH PPO details appear, you’re migrated and can proceed to PDV.
Step-by-Step: How to Verify PDV on SPARSH Portal
Step 1: Log In to the Portal
Visit the SPARSH pensioner portal and log in using your SPARSH User ID and password. Your User ID is your SPARSH PPO number — service pensioners typically have an ID ending in “01.” If you haven’t received credentials, use the “Forgot Password” option to generate new ones.
Step 2: Change Your Default Password
On first login, you’ll be prompted to change your default password before you can take any further action. Do this before proceeding — the portal won’t let you skip it, and it’s basic account security regardless.
Step 3: Open the PDV Section and Review Your Data
Once logged in, navigate to the PDV section, where your claim form is laid out with all the personal, service, and dependent details pulled from your record. Go through every field carefully rather than skimming — this includes checking that names, dates, and numbers match your actual service and identity documents exactly.
Step 4: Confirm or Flag Discrepancies
If everything matches (no discrepancy):
- Navigate to the “Documents” tab
- Click “I agree to terms and conditions,” providing the relevant consents and undertakings required to complete PDV
- Download the PDF copy of your verified data along with the consents/undertakings you provided — keep this for your own records
If you spot an error (discrepancy found):
- Mark the specific field where the mismatch is
- Provide the correct details in the space given
- The claim is then routed back for correction rather than sanctioned on the incorrect data
Don’t approve data you haven’t actually checked — once you confirm PDV, that data forms the basis of your PPO.
Step 5: Complete Aadhaar-Based Authentication
As part of finalising PDV, you’ll go through Aadhaar-based OTP authentication to confirm your identity. This step locks in your verified data, so make sure your Aadhaar-linked mobile number is active before you reach this point — an inactive number here can stall the whole process.
After PDV: What Still Needs Your Attention
Completing PDV isn’t the end of what SPARSH expects from you. A few related tasks tend to trip people up if left unattended:
- Aadhaar and PAN in your profile — Go to Manage Profile and confirm both are updated. Without Aadhaar linked correctly, your annual Digital Life Certificate can fail. Without PAN, income tax may be deducted at a higher flat rate.
- Mobile number — Your registered mobile handles OTPs, login, and account alerts. If it’s outdated, go to Services → Track → Update Mobile, verify via Aadhaar OTP, and set the correct number.
- Annual Life Certificate — Every pensioner must submit this yearly, either digitally through Aadhaar-based authentication (Digital Life Certificate) or as a Manual Life Certificate from a designated authority. Missing this stops your pension outright, regardless of whether PDV was done correctly.
Important Points to Remember
- PDV completion is time-bound — 15 days from the SMS/email notification — so don’t let it sit in your inbox.
- Once you approve data in PDV, it becomes the basis for your PPO. If you approve an error, correcting it later is a separate, slower process than catching it during PDV itself.
- If you’re unable to complete PDV or any related step yourself, you can get in-person assistance at a DPDO office, your Zila Sainik Board, an ESM Cell, your Record Office, or a SPARSH-authorised bank branch — you don’t have to struggle through it alone online.
- Keep the downloaded PDF of your verified PDV data and consents somewhere safe; it’s your proof of exactly what you confirmed and when.
Frequently Asked Questions
What does PDV stand for on the SPARSH portal?
Pensioner Data Verification — the process where a service pensioner confirms their personal, service, and dependent details are correct before pension sanction or continued disbursement.
How long do I have to complete PDV after being notified?
15 days from the SMS or email notification sent to your registered mobile number or email ID.
What happens if I find an error in my PDV data?
Mark the specific field, enter the correct detail, and submit — the record then goes back for correction rather than being confirmed as-is.
Do I need Aadhaar to complete PDV?
Yes. Aadhaar-based OTP authentication is part of finalising the PDV process, so your Aadhaar-linked mobile number needs to be active.
Can someone else complete PDV for me if I’m not comfortable using the portal?
You can get hands-on help at a DPDO office, Zila Sainik Board, ESM Cell, Record Office, or an authorised bank branch — they can guide you through the same steps in person.
Is PDV a one-time process?
It’s required once your claim reaches SPARSH after retirement, but your data can be flagged for re-verification later if discrepancies arise, so treat any future PDV notification the same way — carefully, not as a formality.
Key Takeaway
PDV is the one checkpoint where you have direct control over the accuracy of your own pension record before it’s locked into your PPO. Go through every field, don’t rush the Aadhaar authentication step, and download your confirmation PDF once done. If anything looks off, flag it rather than approving it — fixing a wrong entry after PDV is far more work than catching it during the process itself.